BitChar-G Basic Assembly Instructions:
When I got my first BitChar-G car I found the instructions to be very confusing so I thought I would make a basic instruction page to show the assembly process that I found works best for me. Hopefully this will help if you're on your first car.
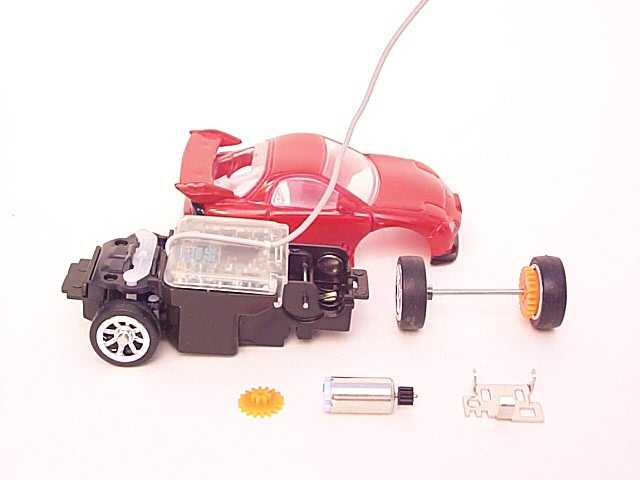
Here is a picture of the parts you should have received. Use extreme caution putting the tires on the rims, especially the front rims.
|
|
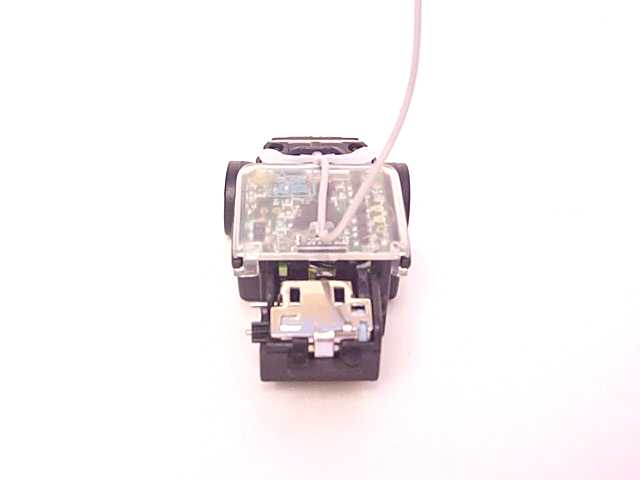
Step 1: Start the motor gear (the small black gear) on the motor armature shaft with the end with the collar toward the motor housing. Once started place the motor and gear in the back of the controller as shown below. Slowly push the motor down until the housing bottoms out on the controller. This sets the proper location of the gear on the armature shaft.
|
|
Step 2: Place the motor in the chassis as shown in the picture below.
|
|
Step 3: Install the motor retainer as shown below. The "hooks" on the motor retainer hook on the shaft used as the intermediate gear shaft adjacent to the the motor. This step can be performed non-sequentially with step 2 above if it is easier for you to get the retainer hooks on the on the gear shaft before install the motor. Once both the motor and the retainer are in place push down the retainer so it locks into the chassis.
|
|
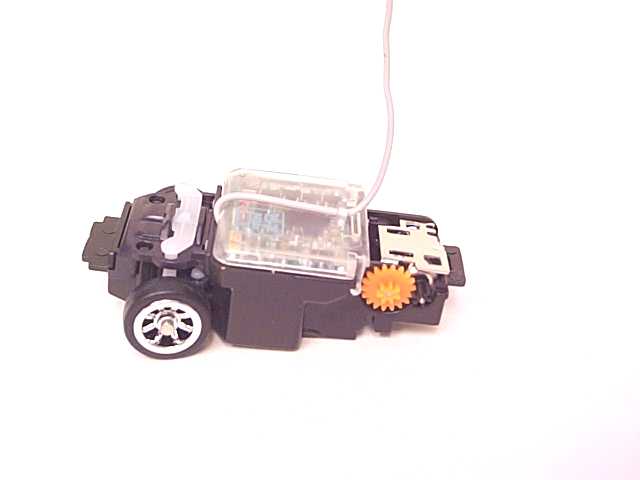
Step 4: Install the intermediate drive gear as shown in the picture below. No oil is required on the motor or gear train.
|
|
Step 5: Carefully install the axle assembly as shown below. The axle will need to be "snapped" into position. Make sure the wheels and gear train rotate freely. If not remove parts and re-assemble. Any gear binding will cause a big loss of performance.
|
|
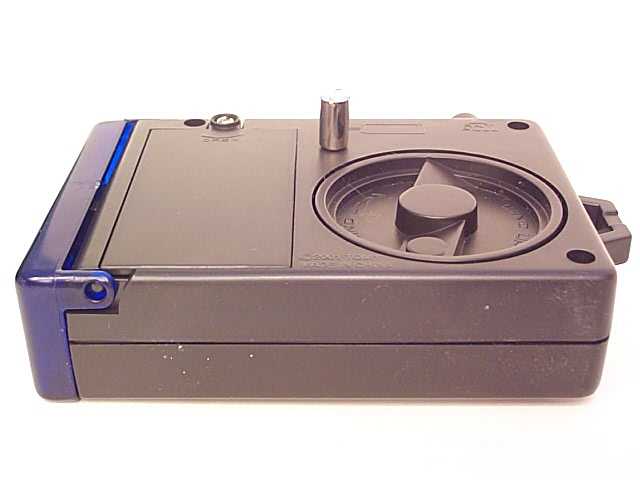
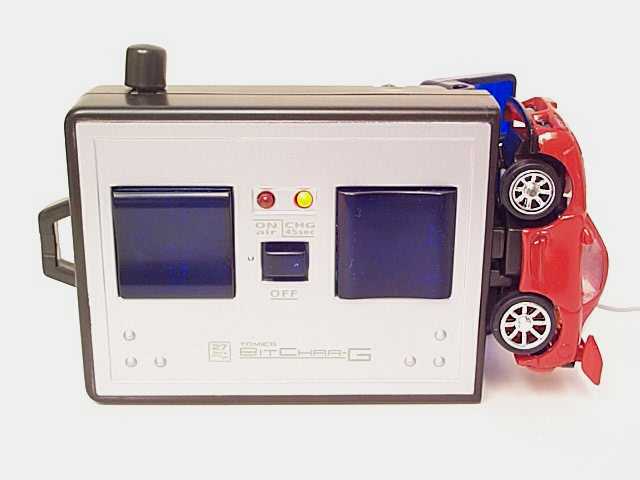
Step 6: Open the charging door on the end of the controller. With the controller in the on position snap the car into position on the charger in the orientation shown. This seems a little tricky for the first few times you do it. The charge light will turn red for about 45 seconds and go out when the charge is complete. Once the charge is complete, pull out the antenna and have a blast.
|
|
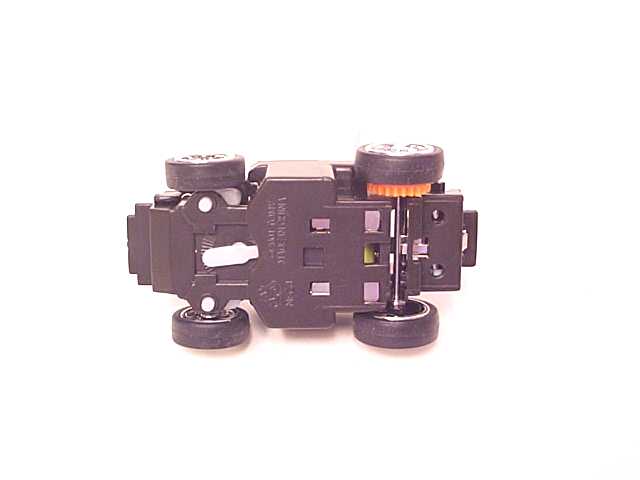
A few notes on the BitChar-G cars: The steering trim is adjustable on the bottom of the car. It is the white lever between the front wheels (see below). Change the setting only a small amount at a time to avoid over adjusting. I run the cars I have on the linoleum floor in our kitchen. When running higher than the stock 1.0 motor the cars do not steer evenly in both directions. I figure it must be the torque of the more powerful motors (2.2, 3.0, 3.8 etc.) lifting the front wheels just enough to loose some front wheel traction.
|
|
Well I hope this has been helpful to some. Any suggestion to add to the page email me.
![]()